使用GitHub+Hexo+live2d搭建个人博客
博客说明
文章所涉及的资料来自互联网整理和个人总结,意在于个人学习和经验汇总,如有什么地方侵权,请联系本人删除,谢谢!
安装hexo
1 | sudo npm install hexo-cli -g |
创建博客目录
1 | hexo init username.github.io |
运行
1 | hexo clean #清理文件 |
打开浏览器,输入地址localhost:4000即可看到博客页面
安装主题
主题官网可以查看
https://hexo.io/themes/[](https://hexo.io/themes/)
我使用的是volantis,文档地址
https://volantis.js.org/v2/getting-started/[](https://volantis.js.org/v2/getting-started/)
下载主题
1 | git clone https://github.com/xaoxuu/hexo-theme-volantis themes/volantis |
修改配置文件
项目根目录下_config.yml文件
1 | theme: volantis |
安装依赖
1 | npm i -S hexo-generator-search hexo-generator-json-content |
配置文件
一般在/_config.yml配置网页图标名称等
一般在/theme/{theme}/_config.yml配置主题等页面显示的问题
部署到Github
在GitHub创建一个<username>.github.io的public仓库,如果你的用户名是xxx,则需要创建一个xxx.github.io的public仓库,这个步骤很简单就跳过了
安装依赖
1 | npm install hexo-deployer-git --save |
网站配置git
在网站的_config.yml中配置deploy
1 | deploy: |
部署
1 | hexo d |
需要Github的用户名和密码,填入即可
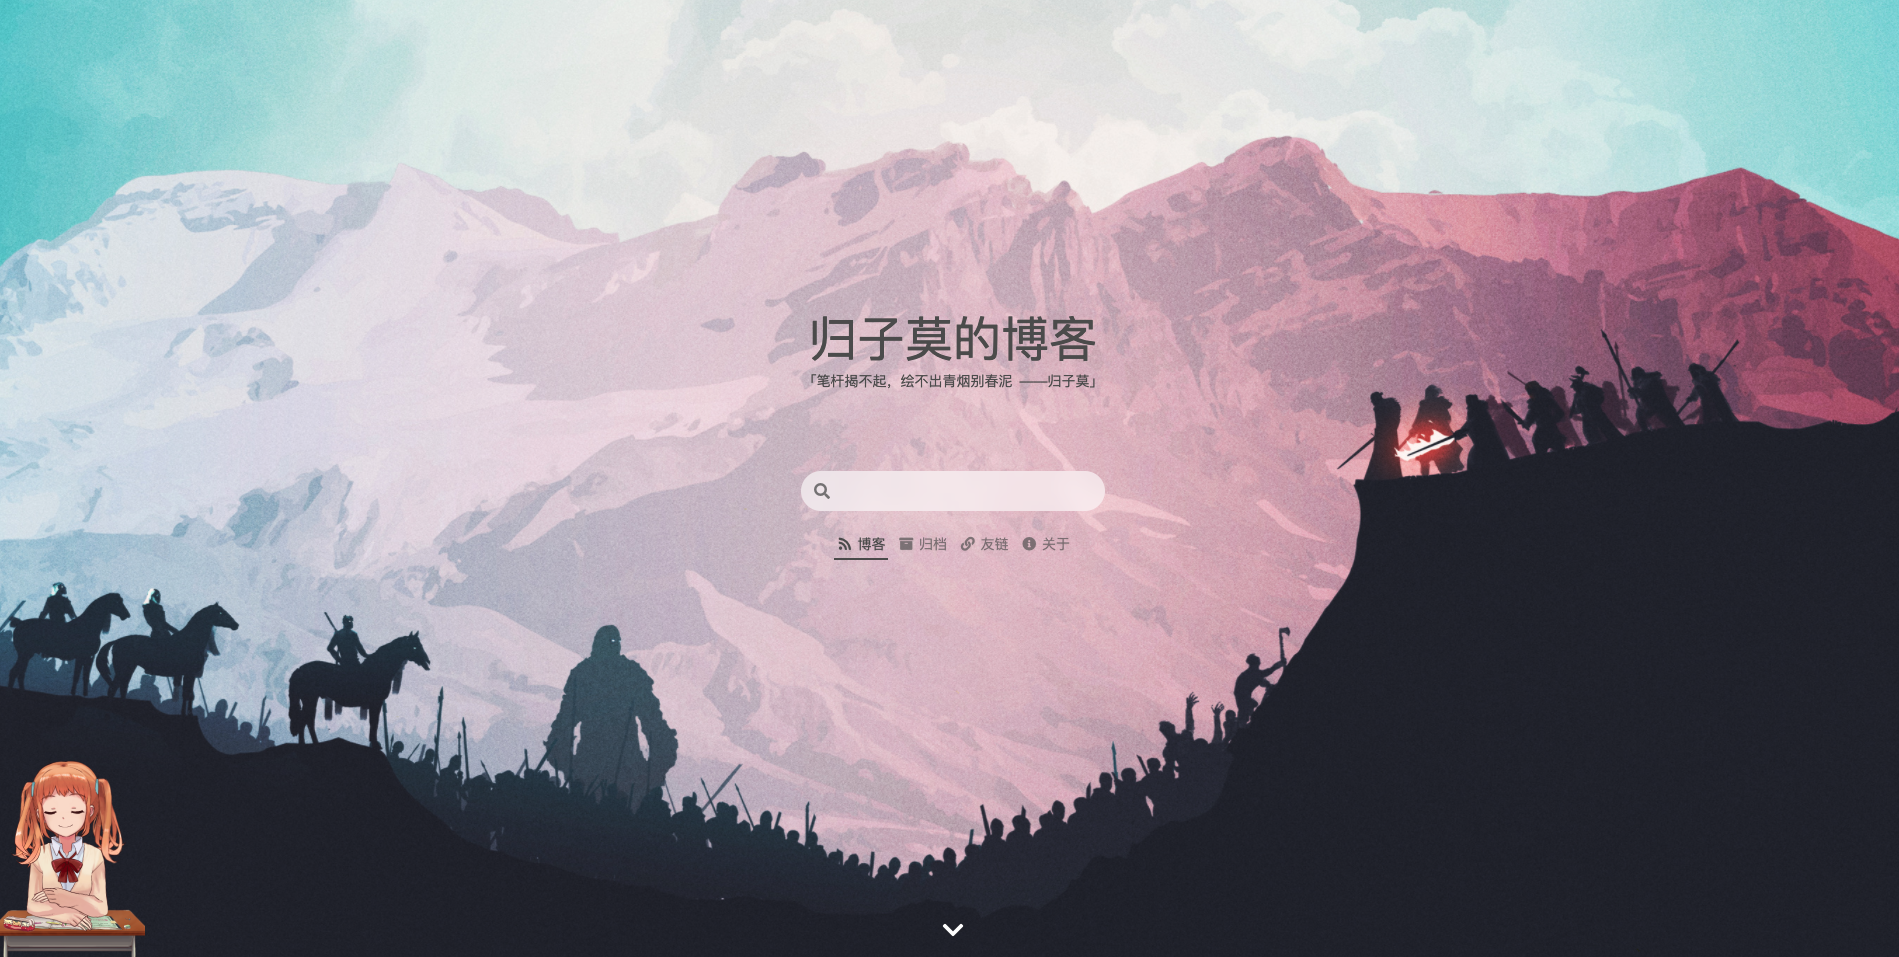
现在的样子
当然这个需要你们根据主题里面的文档进行配置

配置live2d
hexo可以直接当做插件使用live2d,不过很慢
下载依赖
1 | npm install --save hexo-helper-live2d |
下载主题
可以选择主题下载,选择不同的人物
1 | npm install live2d-widget-model-shizuku |
配置主题
在/_config.yml配置文件里面添加一段配置
1 | # Live2D |
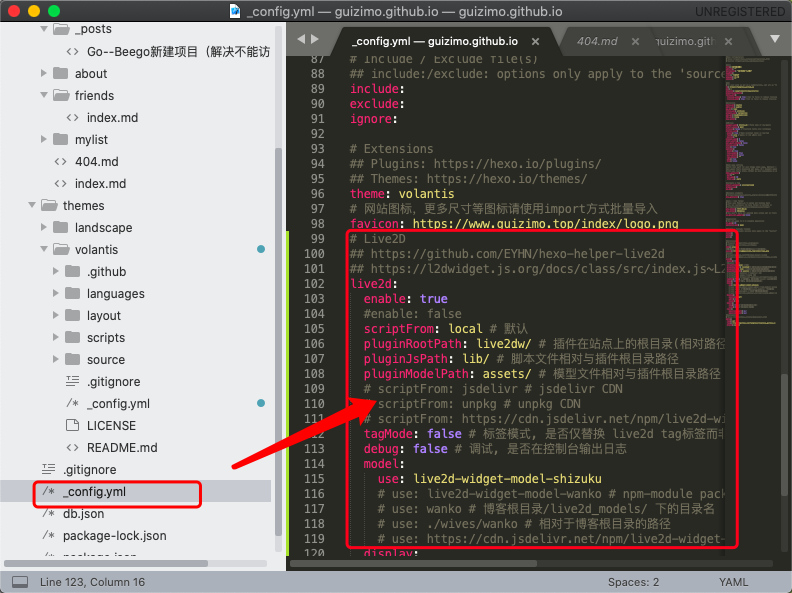
可以自己选择大小和位置
配置好了之后再次部署
1 | hexo clean |
测试
下面那个人物等了一会再出现的
感谢
hexo+github+live2d+volantis
万能的网络
以及勤劳的自己